Mixing Ceramic Glazes
Today I got to do a fun but necessary job in the studio…making glazes! Thankfully, this job benefits me as a learning experience but also because I will need to use the white glaze I made today for my pieces in my exhibition. Since I am using a lot of natural materials and imagery, I like to keep my colors pretty neutral. However, I do like the shiny white to add some consistency among the work.
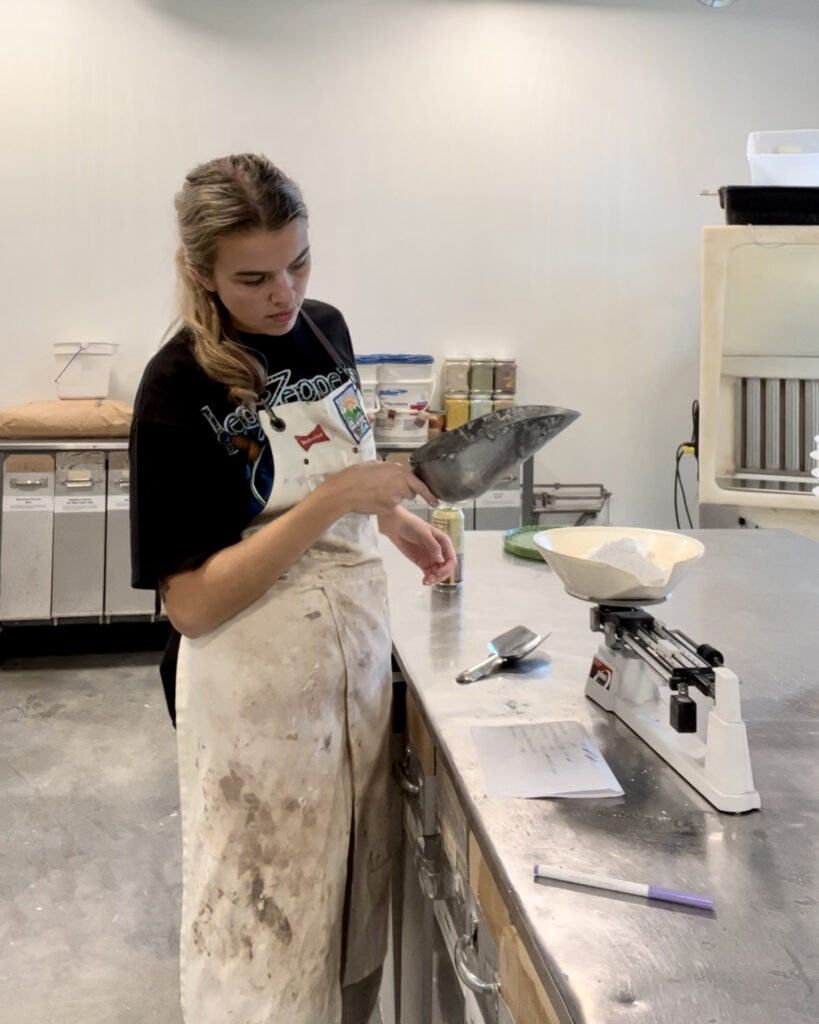
To make a big bucket of glaze like I did today, you will need to set aside some time. I started out by cleaning two big buckets to mix it in. These buckets just needed to be sprayed down because they had previously held other glazes and you don’t want to mix the colors. After cleaning the buckets, my next step was to measure the ingredients. This part is a lot like baking…very precise, and you have to make sure you’re measuring each ingredient perfectly or the glaze won’t turn out. I began this step by writing out the recipe for the glaze and looking it over to be sure I wrote everything down right. The original recipe was written for a smaller batch of glaze, so a small amount of math was required to make enough for my five gallon bucket. I am not a perfectionist, but when it comes to things like this I am extra careful. I don’t want to mess up a glaze everyone will be using, especially after taking so much time to make it! The ingredients required for this glaze were Nepheline Syenite, Wollastonite, Gerstley Borate, Kaolin, Flint, Strontium Carbonate, and Zircopax, which gives the glaze an opaque white color. Each ingredient is measured on a scale in grams and then dumped into the big bucket.
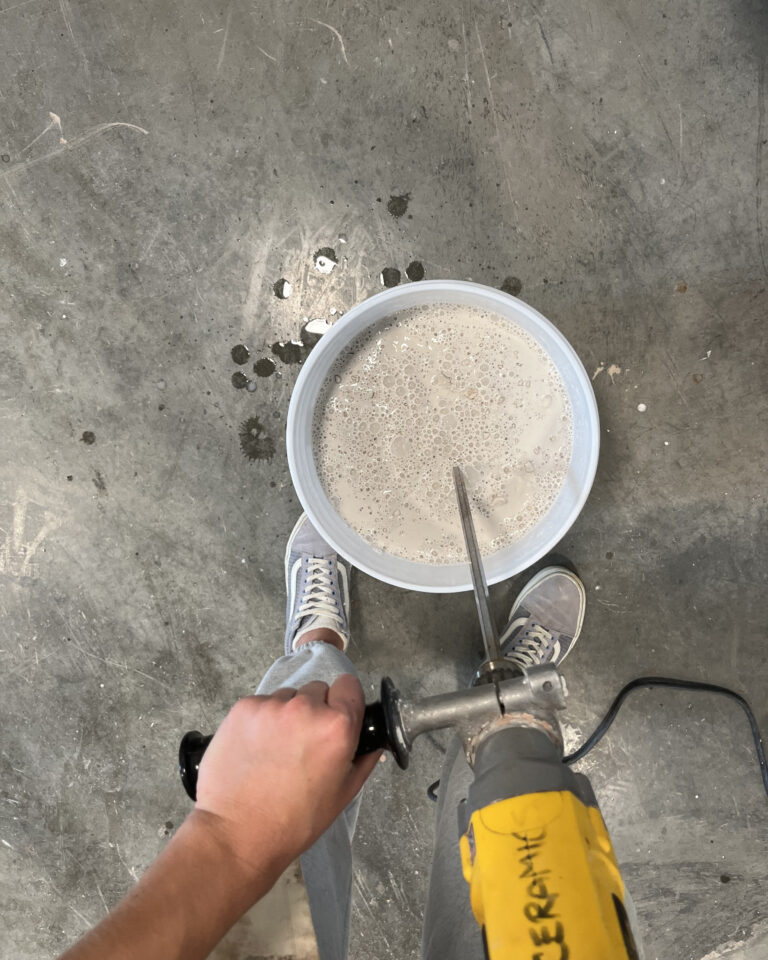
After adding all the dry ingredients into the bucket, I added the water. It took about 4-5 large pitchers of water dumped straight onto the dry ingredients. After adding the water, it’s time to mix. I mixed up the glaze for a while until it seemed combined, then dipped my hands into the bucket and tried to break up the clumps that didn’t get mixed up.
After mixing, it’s time to pour the glaze through the rotary sifter into the new, clean bucket. This helps remove any more chunks in the glaze that didn’t get broken up with the mixer. After this part, the glaze is done! I added a bit more water because it seemed thick. Now that the mixing process was over, I took one of my pots that had just been bisque fired and dipped it in the white to fire and see how the glaze turns out before using it on my other pieces.
This was a time consuming, but fun process. Although I’ve done it before, it was nice to revisit this process to remember each step and strengthen my glaze making skills!