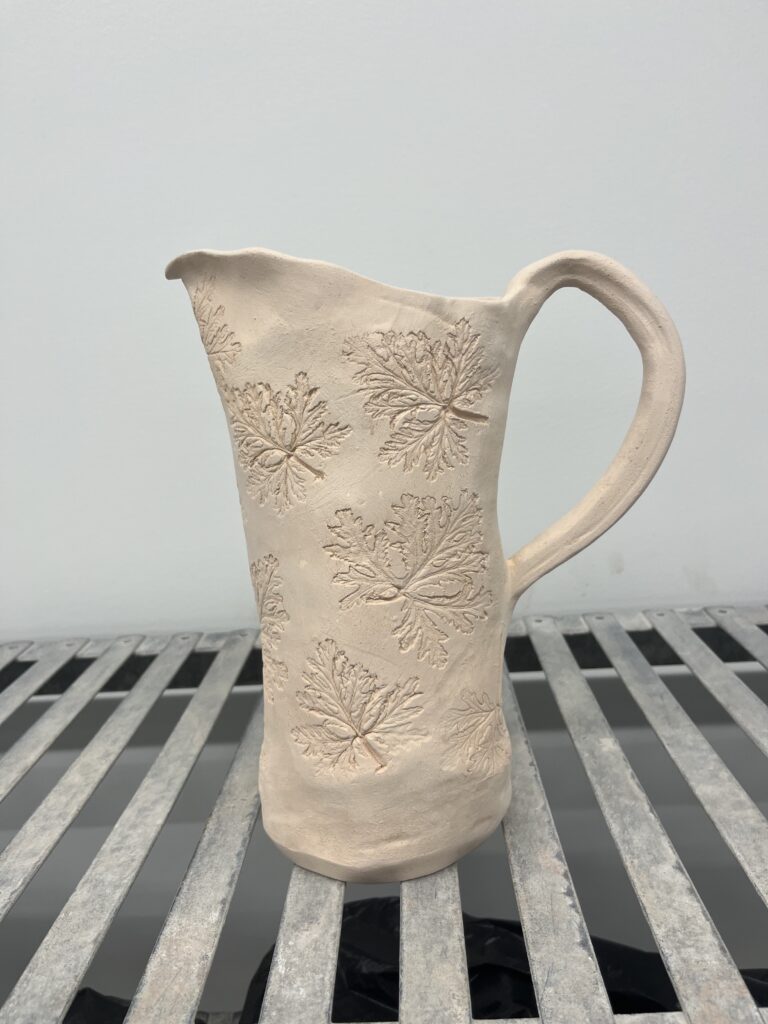
This week I am working on finalizing a lot of my ceramic pieces for my BFA show. It’s coming up so soon and I’m starting to stress a little about finishing the work but I just have to keep pushing along. I made a pitcher for the center of my table, and I am now trying to decide how to glaze it. I love the look of ceramic pitchers and my mom has one she’s had for years that always sits in the center of our table so I figured I would recreate something similar.
After doing a lot of different impressions into the clay with live plants, I decided I liked the look of the citronella most because of how deep of an impression it leaves. I rolled out a large slab of clay and began pressing the citronella into it in a repeated pattern all over with a rolling pin. After that, I cleaned up the edges and formed it into a cylinder shape. I added a handle and fixed the rim to look more like it was able to pour. It has now been bisque fired so it’s ready to be glazed.
I decided to use the tony beaver clay instead of the speckled turtle that I’ve been doing a lot of my pieces with. This means I need to do some glaze tests to see how I want the pitcher to look. I’ve been using a firebrick red colored underglaze and painting it into the impression and then using a damp sponge, wiping away the excess so it is just left in the impression in the clay. I usually use speckled turtle clay so the contrast is nice with the red, but this clay is much lighter so I wanted to do some different tests.
I decided to try using green and black underglaze instead of the firebrick red. After I do the underglaze, I dip the plates into clear glaze. For my glaze tests I glazed all of them clear except for one that I glazed, I decided to try glazing it white.
After looking at my results, I have decided I like the green underglaze with the clear glaze over it. I will be glazing this pitcher soon and I’m excited to see the results.